- Download and install the Cisco AnyConnect App.
- Open the Cisco AnyConnect App. If necessary, wait for it to finish initializing.
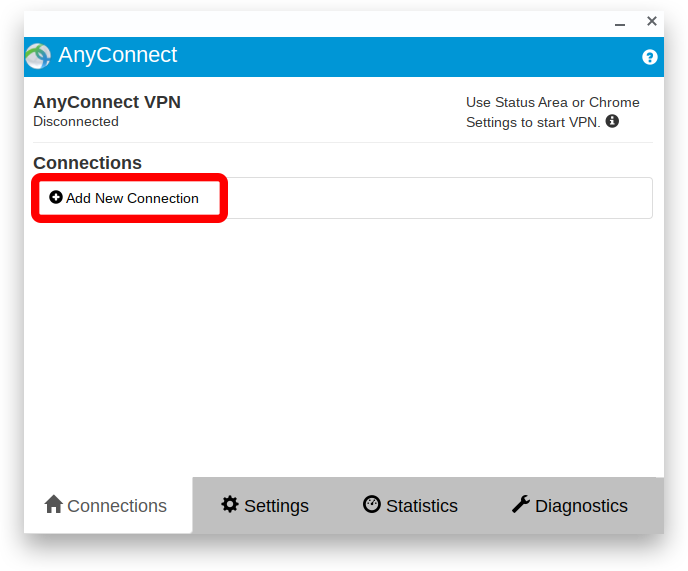
- Select or click "Add New Connection".
- Give it any name, and use "vpn.d.umn.edu" for the Server Address.
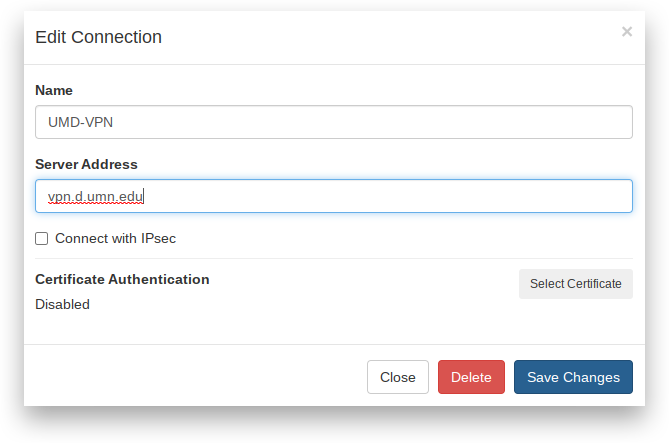
- Select or click or "Save Changes"
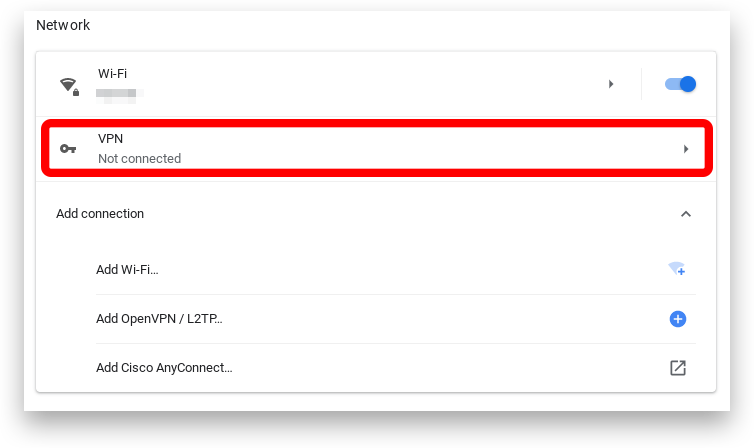
- Open Network settings.
- Select or click "VPN".
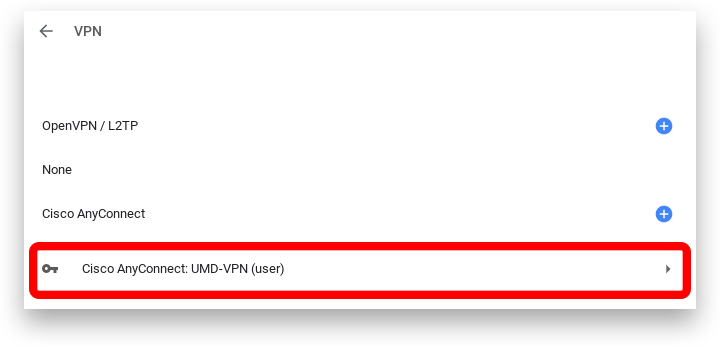
- Select or click "Cisco AnyConnect: UMD-VPN (user)". This may vary if you chose a different name in Step 4.
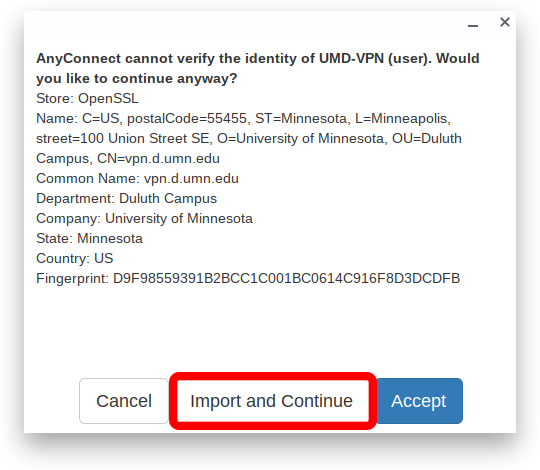
- Several alerts may appear. This is OK, click or select "Import and Continue".
- When prompted log in with your UMN InternetID (not your entire email address) and UMN Password.
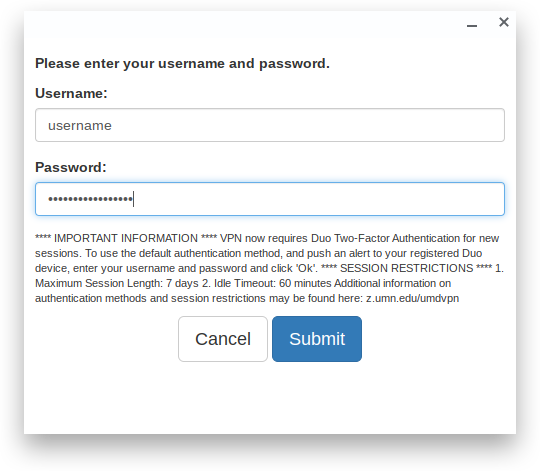
- Long Description: Login Dialog Box
- Authenticate with DUO. Visit VPN: Virtual Private Network for more information about using DUO with VPN.
- You are now connected to VPN.

- The next time you connect, you may see a second connection available called "Cisco AnyConnect: vpn.d.umn.edu". Use this new connection going forward.